Pre-requisite, setup, and the nightmare
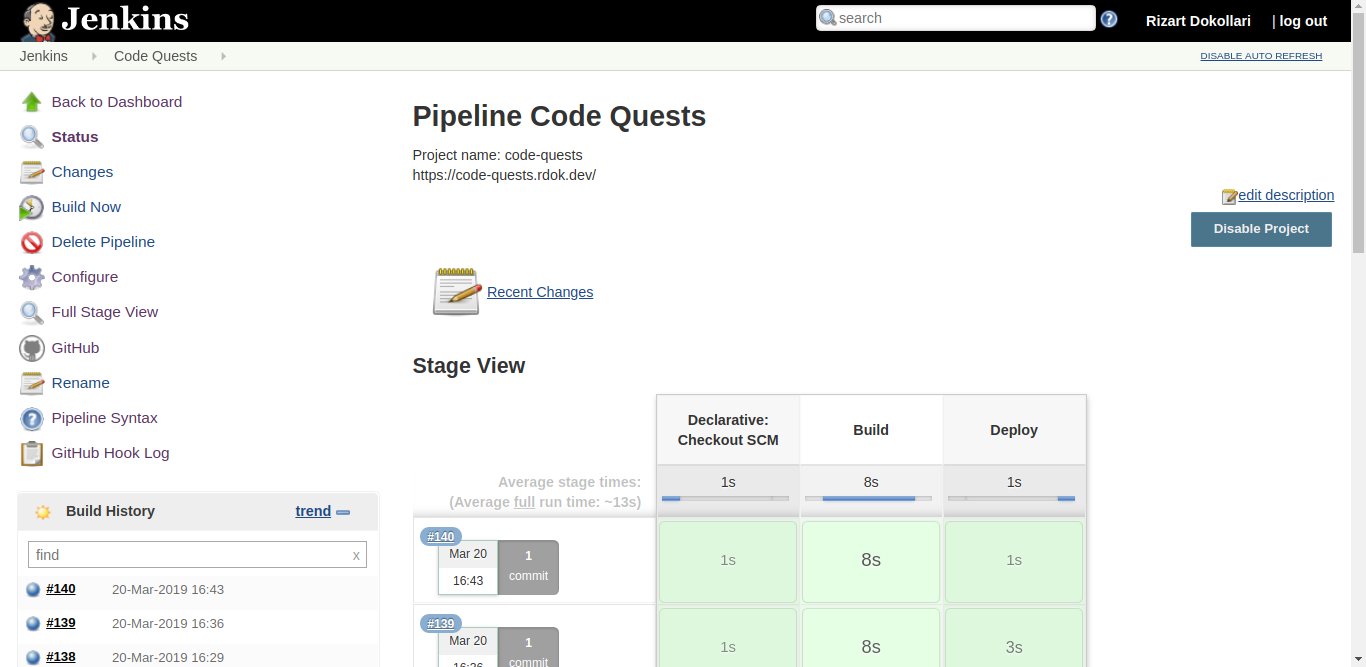
You’ve been given the code quest to learn how to setup a simple Jenkins automation.
Completing this quest, rewards you with the automated release process of your jekyll based blog post, in under 10 seconds.
You decide to complete this quest by setting up a Jenkins Pipeline.
Pre-requisite Software
- Jenkins
- Docker
- Jenkins SSH Credentials
- Jenkins Secret text for webhook
Setup Pipeline
You log in to your Jenkins server. Create a new item, name it, and select Pipeline type.
[ Jenkins -> New Item -> Pipeline & Name -> OK]
You now find yourself on the configuration page.
- You tick the
Discard old buildscheckbox, to preserve disk space as your current environment has up to 20GB. You also select 30 days to keep builds, and up to 100 builds to keep. - You tick the
Do not allow concurrent buildsto maintain good server performance. - You tick the
Pipeline speed/durability/overridecheckbox, and select thePerformance-optimizedcustom pipeline level for fast builds. - You tick the
GitHub hook trigger for GITScm pollingcheckbox. Thus you enable the webhook feature. - You select
Pipeline script from SCM, to instruct Jenkins to retrieve the Jenkinsfile from the source control.- You select
Gitas SCM, add the repository URL, and select credentials giving jenkins access to this repo.
- You select
- You finally click
Savebutton to complete the configuration.
The Nightmare
Creating the Jenkinsfile to work with jekyll Docker image turned out to be a nightmare.
Jenkins uses the jenkin user, but the docker image uses jekyll user. Which is a problem because the jekyll user does
not have permission to write to the Jenkins workspace. Meaning you cannot use the jekyll gem to build the site.
You manage to solve this problem by changing the ownership of the site in the working space to jekyll.
In order to be able to change the ownership you instruct docker to use the root user. Normally docker image uses root
by default, however jekyll/minimal uses jekyll user instead.
After jekyll builds the site, you change the ownership of the site back to jenkins:www-data.
With this work you manage to create the following Jenkinsfile.
Jenkinsfile
pipeline {
    environment {
        SITE_PATH = '/var/www/your-domain/_site'
        JENKINS_UID = 113
        WWW_DATA_GID = 33
        JEKYLL_SID = 1000
        JEKYLL_GID = 1000
    }
    agent any
    stages {
        stage('Build') {
            agent {
                docker {
                    image 'jekyll/minimal:3.8'
                    args '''
                        --volume="$PWD:/srv/jekyll"
                        -u root:root
                    '''
                }
            }
            steps {
                sh '''
                    rm -rf _site && mkdir _site
                    chown -R $JEKYLL_SID:$JEKYLL_GID _site
                    jekyll build
                    chown -R $JENKINS_UID:$WWW_DATA_GID _site
                '''
            }
        }
        stage('Deploy') {
            agent any
            steps {
                sh '''
                    rm -rf ${SITE_PATH}
                    mv -T _site ${SITE_PATH}
                '''
            }
        }
    }
}
Summary
In this quest, you managed to setup a Jenkins Pipeline that:
- Starts with you pushing a git commit to GitHub
- GitHub doing a POST request to our Jenkins server
- Jenkins pulling the new code from the GitHub
- Jenkins triggering the Pipeline
- Pipeline building the project
- Pipeline deploying the project
By configuring the pipeline to be highly efficient, you managed to bring down the build & deploy process to 10 seconds.